
Sign PDF
References:
See the SIGN PDF interface here.
OPERATION SUMMARY:
Since there are several differences in signing PDF documents, you will see a summary table of the features achieved in each mode.
|
|
SIGN |
CERTIFY |
|
PDF is encrypted |
YES |
YES |
|
PDF can have more signatures |
YES |
NO |
|
PDF can have signatures in all pages |
YES |
NO |
|
PDF can have fields for fill in |
NO |
YES |
|
PDF can block any other signature |
NO |
YES |
|
PDF can avoid any changes |
NO |
YES |
Notes:
- One single signature is enough to protect the entire document. You do not need to sign every page of the document to ensure the document integrity or, in other words, that there is no changes in the document after it has been signed.
- Although OBAKE allows you to automatically sign all pages of a document with different "types", please note that this procedure is unnecessary, it will increase the size of the document (approx. 4kb per signature/page), and it will not enhance the security and integrity of the document.
Below you can find how to sign or certificate a document.
SIGNING DOCUMENTS (SINGLE SIGNATURE)
- Ensure that you have a certificate loaded in this module.
- Load the PDF file into OBAKE. At this point, you will see the document in the Document Area.
- Choose which type of signature you want. See here for details.
- Go to the DOCUMENT AREA and choose the page that will contain the signature.
- Position the mouse CROSS CURSOR where you want the signature and press the RIGHT MOUSE BUTTON to select it.
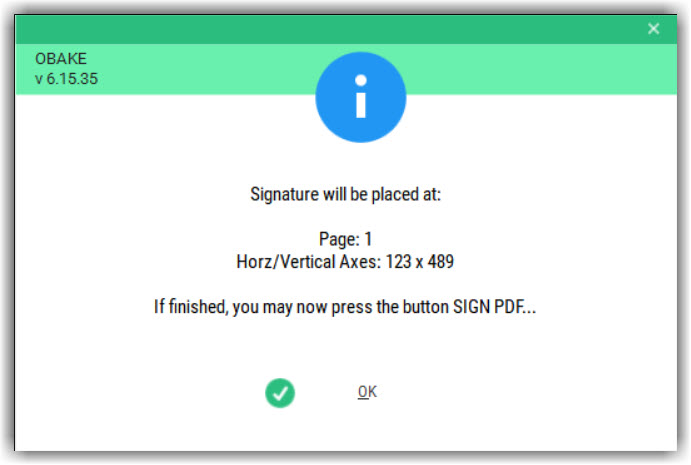
- The page and position must appear in an OBAKE message.
- Press the "SIGN PDF FILE" button.
- OBAKE always save another file with the extension ".signed.pdf" in the file's original folder.
Important:
- You can change the signature type and position changing the signature parameters in the SIGNATURE GRID: just double click over the respective column to change its value.
- You can also DELETE ANY SIGNATURE selecting the respective row (the arrow at the grid leftmost) and press the DEL key. In this case, return to the fourth item above.
- You can press "SIGN PDF FILE" several times until you reach the desired result. OBAKE keeps the original file intact and saves a new file with the same name and the extension "signed.pdf".
SIGNING DOCUMENTS (MULTIPLE SIGNATURES)
Note: although OBAKE allows you to automatically sign all pages of a document with different "types", please note that this procedure will increase the size of the document (approx. 4kb per signature/page) and will not enhance its security and integrity.
- Ensure that you have a certificate loaded in this module.
- Load the PDF file into OBAKE. At this point, you will see the document in the Document Area.
- Choose which type of signature you want in the first page. See here for details.
- Go to the DOCUMENT AREA and choose the page that will contain the signature. Position the mouse CROSS CURSOR where you want the signature and press the RIGHT MOUSE BUTTON to select it.
- The page and position must appear in an OBAKE message.
- Repeat the above step on the second page of the document. You can select another signature type if you like, but pay attention because OBAKE will ask if you want to repeat THIS signature on all pages of the document.

As seen, you can have different signature types on the FIRST, the LAST, and all other pages of the document. For example, you may have a TEXT-LOGO (TL) on the first page and the signature VERTICAL-TOP-BOTTON (CL) on all pages except the last one, which can have a FOOTER (ML) signature. In this case, you must answer "YES" in the above message and define, manually, a new signature on the last page. The SIGNATURES GRID will appear like this:

Note that pages 2-5 has the same TYPE and POSITION of the selected signature.
- Press the "SIGN PDF FILE" button.
- OBAKE always save another file with the extension ".signed.pdf" in the file's original folder.
Important:
- You can change the signature type and position changing the signature parameters in the SIGNATURE GRID: just double click over the respective column to change its value.
- You can also DELETE ANY SIGNATURE selecting the respective row (the arrow at the grid leftmost) and press the DEL key. In this case, return to the fourth item above.
- You can press "SIGN PDF FILE" several times until you reach the desired result. OBAKE keeps the original file intact and saves a new file with the same name and the extension "signed.pdf".
- Ensure that you have a certificate loaded in this module.
- Load the PDF file into OBAKE. At this point, you will see the document in the Document Area.
- Check the CERTIFY (AUTHOR) box. Warning: you cannot put more than one signature in the entire document.
- Choose what type of document you need to certify:
- ALLOW COMMENTING, FORMS, SIGNING FIELDS: with this option, these changes will be allowed in the document after it has been certified. But remember: changes in text/images of the document still will invalidate the signature, showing that its INTEGRITY was violated.
- ALLOW FORM FILL-IN AND DIGITAL SIGNATURES: this option is similar to the previous one, but the document cannot have "comment fields" or some effects, colors and lines; otherwise the signature will be invalidated (violation of integrity).
- NO CHANGES ALLOWED: any change in the document will invalidate the signature.
- Choose which type of signature you want. See here for details.
- Go to the DOCUMENT AREA and choose the page that will contain the signature.
- Position the mouse CROSS CURSOR where you want the signature and press the RIGHT MOUSE BUTTON to select it.
- The page and position must appear in an OBAKE message.
- Press the "SIGN PDF FILE" button.
- OBAKE always save another file with the extension ".signed.pdf" in the file's original folder.
Important:
- You can change the signature type and position changing the signature parameters in the SIGNATURE GRID: just double click over the respective column to change its value.
- You can also DELETE ANY SIGNATURE selecting the respective row (the arrow at the grid leftmost) and press the DEL key. In this case, return to the fourth item above.
- You can press "SIGN PDF FILE" several times until you reach the desired result. OBAKE keeps the original file intact and saves a new file with the same name and the extension "signed.pdf".